
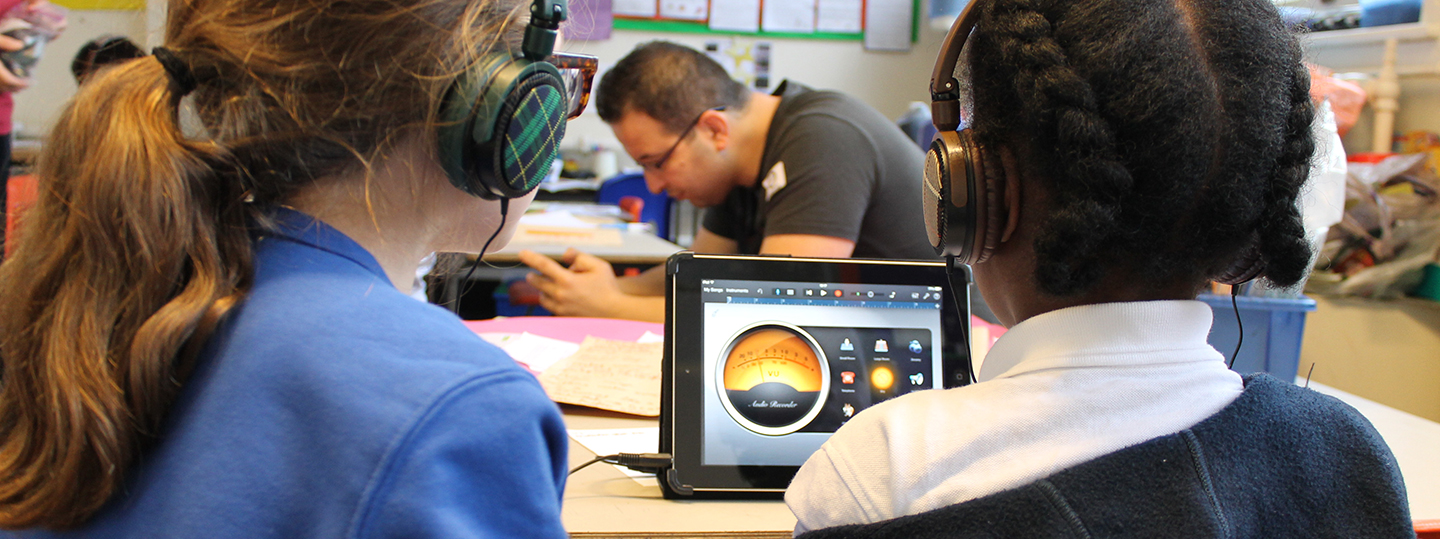
Ben Sellers, our Lead Musician, explains the quickest and easiest way to get started with group iPad music making for your classroom. View a video version of this guide by clicking here.
Music is a very social activity. We play in ensembles, we attend concerts en masse and we share our playlists online. Music technology, however, can sometimes be painted as a lonely activity, conjuring up images of classrooms full of pupils working independently with headphones on.
Computers and iPads were designed to be operated by individuals – they’re ‘personal computers’ after all. That doesn’t, however, mean that classroom music making with technology needs to force the social activity of music making into independent work.
The steps below explain how you can quickly and easily convert even just one iPad into a platform for classroom-based ensemble music making.
Put your iPads in cases
Children will drop your iPads. It’s inevitable. You can have all the classroom rules in the world but, at some point, an excited pupil will accidentally drop your iPad.
Do yourself (and your music department’s budget) a favour and have drop-proof cases on all of your iPads so that they can survive a drop from hand-height to the floor.
At Transformance Music, we’ve found two great cases:
Griffin Survivior:
- this is a top-quality case that will survive pretty much anything that you can throw at it. At £50, it’s not cheap but it’s far more cost-effective than buying a new iPad.
Pepkoo Case:
- this has a very similar design to the Griffin Survivor but offers a lower level of protection and is made from less durable materials. The reduced protection comes with a more affordable price tag of around £15.
Connect your iPad headphone socket to a splitter
Using mini-jack cables, connect the headphones socket of your iPad to a simple splitter. We have tried all sorts of splitters but we find that these mini-jack 6-way splitters work perfectly in the classroom and cost less than £5!
You can connect as many iPads as you have inputs on the splitter, allowing you to create whole iPad ensembles if you have the necessary resources.
Connect the splitter to a speaker
If you need a silent classroom, then you can connect the splitter to headphones for the pupils. In this explanation, however, we’re looking at ensemble music making, so connect your splitter to a speaker.
One of our favourite options for speakers is the super-portable Minirig speaker. They’re small, loud, the sound quality is great and they’re battery powered (but long-lasting!). Perfect for moving from classroom to practice room and easily stored away when needed.
Your iPad band is ready!
It really is that simple! The iPads will now play out of the same speaker and you can control the balance between them with the individual volume controls. Your students can now take part in a whole range of ensemble music making activities.
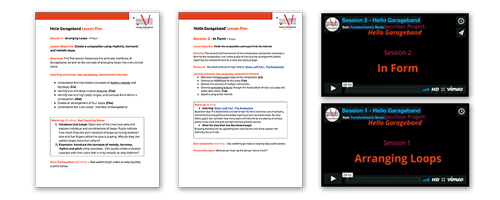
If you’re ready for the next step, then you can download an entire scheme of work for free just by entering our iPad Composition Challenge. This includes lesson plans, video explanation and a community of engaged teachers ready to share their work! Just click here to get started.
